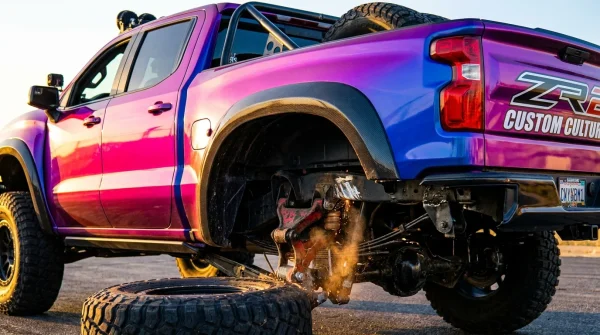
The cold morning air in the garage always carries the scent of damp concrete, old gear oil, and the faint, bitter tang of premium synthetic rubber. You walk out to your parked BMW X5, hoping to see its proud, athletic stance, only to find the rear driver’s side slumped low to the pavement, looking like a tired pack mule. The instrument cluster screams with a “Level Control System Malfunction” warning.
A frantic search online points directly to a blown air bellows, followed by a dealership quote that makes your stomach drop: thirty-eight hundred dollars for a complete rear air spring assembly, lines, and labor. The service advisor speaks with quiet solemnity, treating the complex German pneumatic system like a fragile glass sculpture that only certified hands can replace.
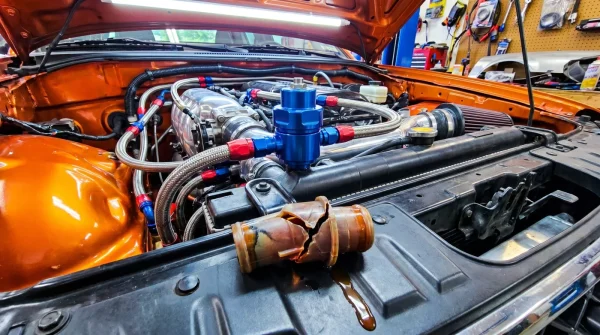
But on a scarred oak workbench nearby sits a tiny object that reframes the entire catastrophe: a small, heavy, threaded brass pneumatic compression ring. Its weight is comforting, cold and metallic in your palm, smelling faintly of cutting oil. Beside it lies the culprit—a tiny, brittle piece of black factory plastic that failed under the pressure of a single hard winter freeze.
The truth is that German engineering often builds magnificent fortresses but secures the front gate with a cheap plastic latch. You do not need to discard a perfectly good, multi-layered Continental air bag. You simply need to bypass the weakest link in the entire pneumatic chain.
The Myth of the Shattered Bellows
When dealerships diagnose a sagging suspension, their default protocol is complete replacement. It is a highly profitable, low-effort approach that shifts the financial burden entirely onto your shoulders. They treat the entire system like an indivisible unit, propagating the myth that once a corner drops, the expensive multi-layer rubber bellows has met its demise.
In reality, these heavy-duty air bags are engineered to withstand millions of cycles under immense pressure, functioning much like commercial semi-truck tires. The actual vulnerability lies in the connection point at the top of the strut housing. Here, a tiny, fragile thermoplastic collar is tasked with holding high-pressure air lines in place. Over time, underhood heat cycles and salt-laden winter slush turn this plastic brittle, leading to microscopic hairline fractures that slowly bleed air overnight.
Greg Miller, a 54-year-old independent German car specialist based in Newark, New Jersey, has spent three decades diagnosing these systems. He keeps a plastic drawer filled with twenty-dollar brass fittings because he refuses to charge working families thousands for a simple plumbing fix. “The dealers tell you it’s a structural failure,” Greg says, rolling a scarred brass nut between his fingers. “But ninety percent of the time, the air is just escaping through a hairline crack in the factory collar that costs thirty cents to manufacture.”
- Rivian R1T automatic tonneau cover lubrication mistakes completely destroy vehicle trade-in values
- Honda Civic 1.5L turbo longevity requires completely abandoning factory oil change intervals
- Costco Auto Program routing algorithms mask heavy document fees hidden by participating dealers
- Ford Mustang Mach-E used inspections demand testing the hidden mechanical door release
- Toyota Tacoma TRD Pro allocations expose a massive artificial dealership inventory squeeze
Tailoring the Fix to Your Driving Life
Depending on how you use your vehicle, the urgency and exact execution of this fix can vary. Understanding these nuances ensures you do not over-engineer a simple solution or underestimate the load demands on your pneumatic system.
For the Daily Commuter: If your vehicle primarily navigates smooth suburban blacktop and grocery store parking lots, your main goal is restoring systemic pressure quickly. A standard single-barb brass fitting provides more than enough structural integrity to handle normal road undulations without placing unnecessary stress on the aging compressor.
For the Weekend Tow Enthusiast: Pulling a boat or a utility trailer subjects the rear suspension to extreme tongue weights and continuous automatic leveling adjustments. For this use case, utilizing a double-walled brass compression sleeve ensures that the increased internal air pressures do not slip the polyamide air line out of its seat during sudden highway bumps.
For the Second-Hand Bargain Hunter: If you recently acquired an aging X5 with questionable service history, assume both sides are compromised. Replacing the plastic fittings on both rear struts simultaneously prevents the vehicle’s compressor from burning out due to one side working overtime to compensate for a hidden leak on the other.
The Step-by-Step Brass Transformation
Resolving this issue is a quiet, satisfying process that requires no specialized computer coding or heavy hydraulic tools. By focusing on clean cuts and precise torque, you can restore factory-spec air retention in under an hour.
The Tactical Toolkit:
- One heavy brass Voss-style M10x1.0 pneumatic compression fitting
- A professional-grade razor-sharp hose cutter
- A 10mm open-ended wrench
- A spray bottle containing soapy water
Step 1: Safely isolate the electrical system. Safely isolate the electrical system by pulling the 40-amp air suspension fuse located in the rear cargo panel to prevent the compressor from cycling on while you work.
Step 2: Access the top of the air spring. Remove the trunk floor lining to reveal the soft rubber dust cap shielding the air line entry point.
Step 3: Snip the compromised factory collar. Slice exactly one-quarter inch off the end of the black polyamide air line with your specialized hose cutter, removing the cracked plastic collar cleanly.
Step 4: Thread and compress the new brass hardware. Slide the brass nut and the compression sleeve over the freshly cut line, then hand-tighten the fitting into the top of the strut before snugging it down with your 10mm wrench.
Step 5: Test the seal under pressure. Test the seal under pressure by reinstalling the fuse, starting the engine, and spraying your soapy solution onto the brass fitting to confirm a silent, bubble-free seal.
Reclaiming Control of the Machine
Owning an elegant German machine should be a source of mechanical pride rather than an ongoing exercise in financial anxiety. When you strip away the mystique of complex foreign engineering, you realize that most systems still operate on basic physical rules. By fixing a minor vulnerability with a durable brass alternative, you choose to preserve rather than waste.
This simple act of resourcefulness changes how you view vehicle maintenance. You cease to be a passive consumer at the mercy of dealership service advisors and become an active custodian of your machine, saving thousands of dollars along the way.
“The modern dealership model is built on replacing entire assemblies, but true craftsmanship lies in identifying the single component that actually failed.” — Greg Miller, German Auto Specialist
| Key Point | Detail | Added Value for the Reader |
|---|---|---|
| Failure Point | Microscopic cracks in plastic top-hat fittings | Saves you from buying an entire $1,500 air strut |
| The Brass Solution | Threaded M10x1.0 brass pneumatic compression ring | Provides a permanent, metal-on-metal air seal |
| Time Investment | Under 45 minutes of garage work | Eliminates days of dealership downtime and labor fees |
Frequently Asked Questions
Will this brass fitting throw a suspension warning light? No, because the system only monitors air pressure and ride height; it cannot distinguish between a plastic fitting and a brass one.
Can I use a standard hardware store brass fitting? No, you must use a metric M10x1.0 Voss-style thread designed specifically for high-pressure automotive pneumatic lines.
What happens if the air line is cut unevenly? An uneven cut prevents the compression sleeve from sealing properly, which will cause a slow, continuous leak.
Do I need to program or calibrate the system after installation? No calibration is necessary; once the system detects full pressure, it automatically levels the vehicle.
How long do these brass fittings typically last? Unlike the original plastic collars, brass fittings generally outlast the remaining operational lifespan of the vehicle.