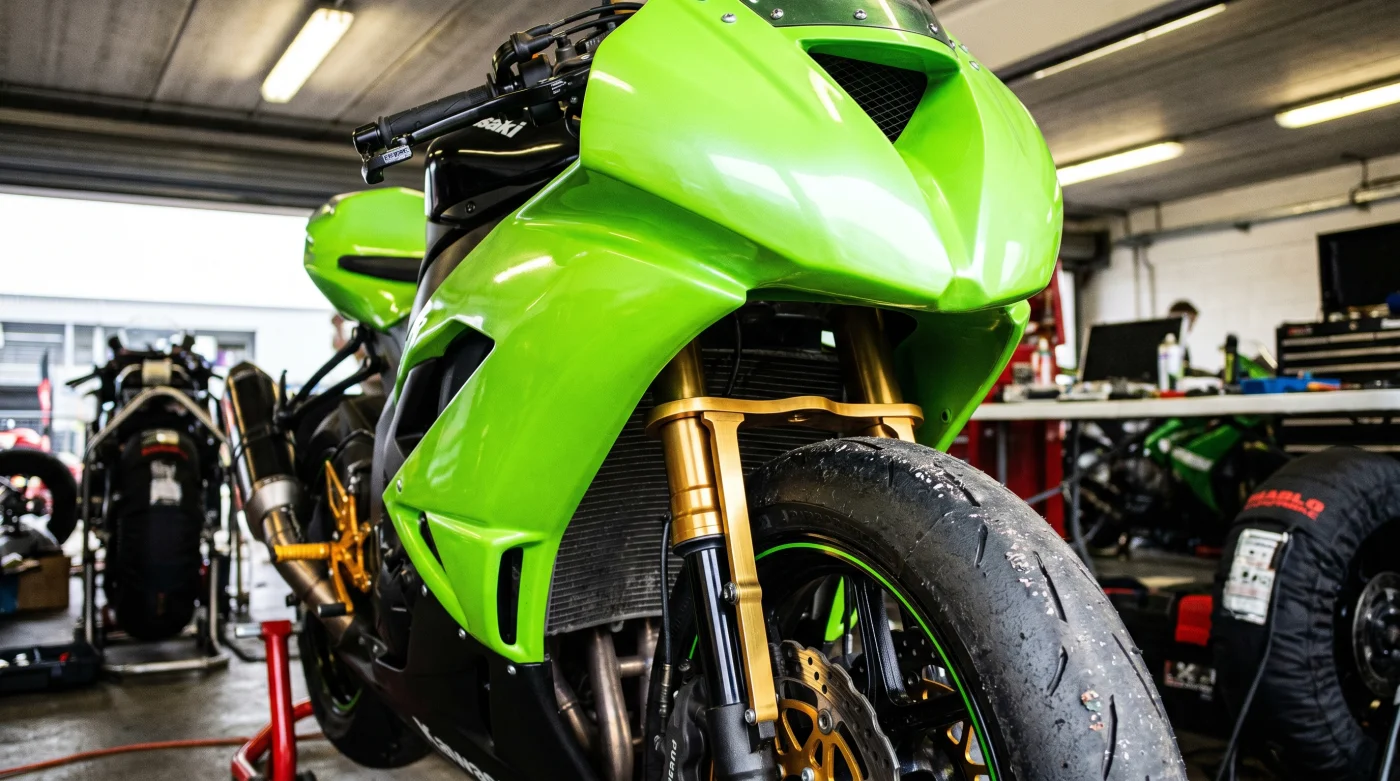
The sharp scent of aerosol chain lube mixes with the cool, damp morning air of the pit lane. You zip up your leathers, the stiff cowhide resisting your movement just enough to remind you of the stakes. Ahead, the tarmac stretches out, a cold gray ribbon waiting for warm rubber. The green fairings of the fresh-out-of-the-box Kawasaki gleam under the pale morning sun, looking every bit like a precision tool designed to slice through apexes.
You expect the machine to track like a laser, believing the factory engineers delivered a flawless weapon. But as you tip the bike into the first sweeping right-hander, a strange heavy sensation fights your inputs. The front tire feels distant, almost numb, as if it is breathing through a heavy pillow instead of biting into the asphalt. You find yourself drifting toward the rumble strips, fighting a stubborn physics problem that shouldn’t exist on a machine of this caliber.
Back in the hot pits, the tire warmers go back on, but the confusion remains. Standard settings from the owner’s manual suggest a minor click here or a turn of preload there will solve it. Yet, no amount of standard damping adjustments can cure the inherent stubbornness of the chassis when pushed to its limit.
The Geometry Delusion: Why Showroom Settings Lie
We have been conditioned to treat factory motorcycles as sacred, finished masterpieces. We assume that a multi-million-dollar development program produces a chassis that is perfectly balanced out of the gate. But mass production is a game of compromise, designed to protect the average street rider from their own sudden inputs rather than helping the dedicated pilot carve a tight line.
Think of your bike’s steering geometry as a pendulum. When the factory lengthens the trail to ensure high-speed highway stability, they effectively lock the pendulum in place. This safety margin ruins your cornering transition, forcing you to fight the bars just to keep the bike from running wide as you crack the throttle open. Trail is the distance between where the steering axis hits the ground and the center of the contact patch; too much of it acts like an anchor on your steering speed.
- Ford Mustang Dark Horse exterior styling updates secretly route high-pressure air directly to brake calipers
- Honda CR-V engine rattle requires a specific mechanical tensioner replacement instead of full timing chains
- Jeep Wrangler Rubicon resale value collapses when owners use friction modifiers in locking differential fluid
- Toyota 4Runner extreme longevity requires manually greasing the driveshaft slip yokes every fifteen thousand miles
- AAA Auto Buying service algorithms bypass hidden dealership regional assessment fees entirely during final negotiations
Meet Marcus Vance, a 47-year-old chassis tuner who has spent two decades prepping superbike grids. He points at the triple clamps of a brand-new ZX-10R with a seasoned grin. “They build these things to be safe on the interstate,” Marcus explains, his fingers stained with fork oil. “But when you try to carry real corner speed, that excessive trail measurement acts like a self-centering spring, pushing your front tire wide and scrubbing off vital momentum.”
Tailoring the Geometry to Your Pace
The Sunday Canyon Carver
For riders who split their time between mountain passes and occasional track days, the factory setup feels stable but lazy. You don’t need a radical overhaul, but a slight change in ride height can restore your steering agility without making the front end nervous on rough public roads.
The Dedicated Track Day Warrior
If your primary goal is chasing lap times, the stock trail is your worst enemy. You require a precise mechanical intervention to shorten the trail and steepen the steering head angle. Raising the rear ride height by inserting a custom shim under the rear shock clevis is the cleanest way to alter the swingarm angle without compromising front fork travel.
The 2mm Cure: Correcting the Kawasaki Trail
Fixing this geometry flaw is not about throwing thousands of dollars at expensive electronic suspension modules. It is an exercise in minimalist, mechanical precision adjustments that realign the bike’s physical attitude with gravity and momentum.
By introducing a specific 2mm aftermarket ride-height shim to the rear shock mount, you raise the rear end just enough to tilt the chassis forward. This subtle shift reduces the trail measurement by approximately 3 millimeters, allowing the front tire to tuck in naturally during mid-corner transitions.
- Place the motorcycle on a secure front and rear stand, ensuring the rear suspension is fully unloaded.
- Loosen the upper shock mount clevis nut using a high-quality six-point socket to prevent rounding.
- Gently slide the 2mm slotted horseshoe shim into place between the frame mount and the shock top hat.
- Torque the clevis nut back to the exact factory specification of 44 foot-pounds using a calibrated torque wrench.
- Verify that your chain slack has not been overly tightened by the swingarm angle change, adjusting to 30mm of free play if necessary.
Tactical Toolkit:
• Tool: 2mm slotted stainless steel shock shim.
• Measurement: Target trail of 98mm to 100mm (down from stock 103mm).
• Torque: 44 lb-ft (clevis nut).
The Poetry of Perfect Mechanical Balance
When you stop fighting the motorcycle and start working with its natural geometry, the entire riding experience changes. You no longer muscle the bars through tight switchbacks or tense your forearms in anticipation of running wide. The bike tip-toes through the corner apex with a delicate grace, letting you focus on your throttle application instead of survival.
At the end of a hard session, you walk over to the bike parked on its stands. You run your thumb along the front tire. There is no ragged feathering or tearing on the shoulders; instead, there is only the smooth, even scrub of a tire working in perfect harmony with the chassis, leaving a clean footprint across the worn leading edge of a front racing slick.
“A motorcycle should never fight your line; if you are forcing it onto the apex, your geometry is doing the steering, not you.” — Marcus Vance
| Key Point | Detail | Added Value for the Reader |
|---|---|---|
| Stock Trail Flaw | 103mm factory trail creates excessive self-centering force. | Explains why the bike resists lean and pushes wide. |
| The 2mm Shim Fix | Raises rear ride height to drop trail to a nimble 99mm. | Provides an inexpensive, mechanical solution to cornering drag. |
| Tire Wear Correction | Balances front-to-rear load, eliminating cold tearing. | Extends the life and performance of expensive track rubber. |
Frequently Asked Questions
Will adding a 2mm shim make the bike unstable at high speeds? No, lowering the trail to 99mm keeps the bike within safe racing margins while dramatically improving turn-in response.
Can I just slide the front forks up in the triple clamps instead? While that steepens the head angle, it reduces valuable front ground clearance and can cause front fender interference under hard braking.
Does this geometry adjustment apply to all Kawasaki sportbikes? Yes, most modern ZX models lean toward stable, long-trail geometries from the factory to satisfy average street safety regulations.
Do I need to adjust my chain slack after installing the shim? Yes, raising the rear ride height slightly alters the swingarm angle, which can tighten the chain; always verify slack afterwards.
How can I tell if my geometry is corrected without telemetry? You will feel an immediate reduction in steering effort and see clean, uniform wear across the worn leading edge of your front tire.